Filming is only half the work. The edit is where raw footage turns into a video that tells a clear story, fits the platform and ends with a message people remember. Without a plan, editing can drag on for days. A simple, repeatable workflow keeps projects moving and makes each new video faster than the last.
1. Organise before you cut
Start by copying all footage, audio and graphics into one project folder with a clear structure, for example:
- Footage, split by camera or by day
- Audio, including separate microphone recordings and room tone
- Graphics, such as logos, lower thirds and title cards
- Music, only tracks you have the right to use
- Exports, for drafts and final versions
Make a backup copy on a second drive before you begin. Then watch through the material and mark the best takes. Most editing software lets you add markers or ratings, which saves a lot of searching later.
2. Build the rough cut
The rough cut is about story, not polish. Place the strongest clips on the timeline in the order of your script, and do not worry yet about transitions, colour or music.
If you wrote a script before filming, use it as your guide. Our beginner’s guide to scriptwriting for marketing videos explains how a clear structure of introduction, main message and call to action makes this stage much easier.
At this point, the video will usually be too long. That is normal.
3. Tighten the edit
Now go through the rough cut and remove everything that does not help the message.
- Cut pauses, false starts and repeated sentences.
- Shorten the opening so the key point arrives within the first few seconds.
- Use cutaways, such as product shots or people at work, to hide jump cuts in interviews.
- Watch the video without sound to check that the pictures alone are easy to follow.
Ask someone who has not seen the footage to watch this version. Fresh eyes quickly spot parts that feel slow or confusing.
4. Sound, colour and graphics
Once the structure is fixed, move on to the finishing work.
- Audio. Balance voice levels so speech is consistent, reduce background noise and add music at a level that does not compete with the voice.
- Colour. Correct white balance and exposure first, so shots match each other, then apply any creative look sparingly.
- Graphics and captions. Add names, titles, your logo and subtitles. Many people watch social media videos without sound, so captions are worth the extra time.
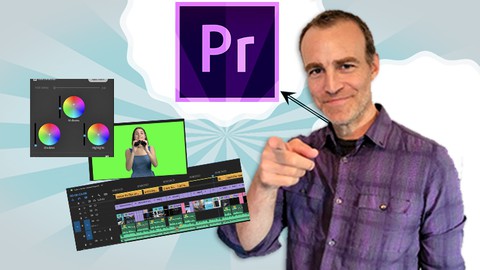
If you are learning these steps for the first time, a structured course can help, for example this Premiere Pro video editing course for all levels. More options are listed in our video editing category.
5. Export for each platform
One master edit rarely fits everywhere. Plan the versions you need before you export:
- A full-length landscape version for your website or YouTube
- A short vertical cut for social media
- A square or short teaser for adverts or newsletters
Name files clearly with the project, version and format, and keep the master file and project folder archived so you can make changes later.
Keep improving the workflow
After each project, note what took longer than expected and adjust your template folders, presets and checklists. Over time, a simple routine will save hours on every marketing video you produce.